Chemo Order Entry - Placing an Order
Height and Weight information should be updated in the Electronic Patient Record (EPR) prior to placing any orders in OPIS so that the BSA information is accurate for the order.
Follow these steps to enter an order for a patient with no previous orders in OPIS:
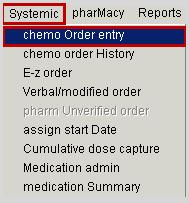
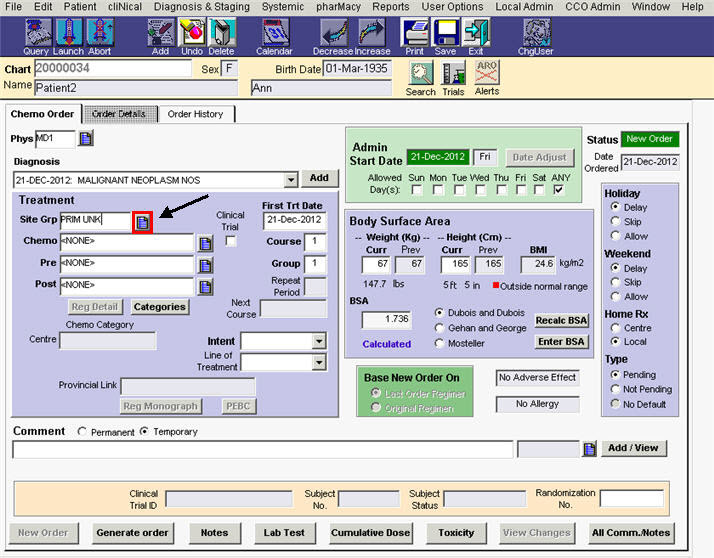
1. From the main OPIS menu bar select Systemic and chemo Order entry.
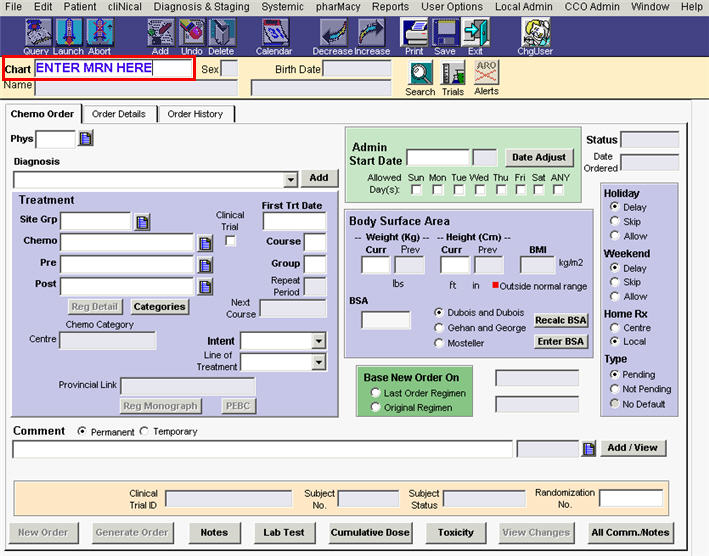
2. If you have not been working with a patient in OPIS, the Chemo Order window will open up blank. Type the patient’s medical record number (MRN) in the chart field and press the Enter key on your keyboard.
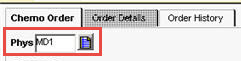
3. Enter the appropriate Physician abbreviation in the PHYS field. This is usually the first four letters of the physician's last name and their first initial. This field should default automatically for a physician placing an order.
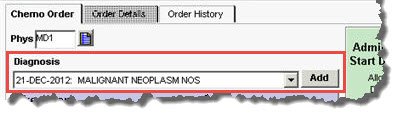
4. If there is more than one diagnosis entered in OPIS, use the drop down arrow to select the most appropriate diagnosis in the Diagnosis field. If there is only one diagnosis entered in OPIS, it will fill in automatically. If no diagnosis is available, click the Add button beside the Diagnosis field to enter the diagnosis. See also Registering an Initial Diagnosis and Registering Additional Diagnoses.
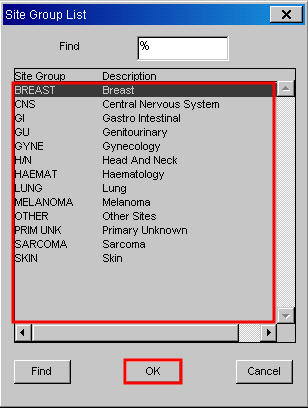
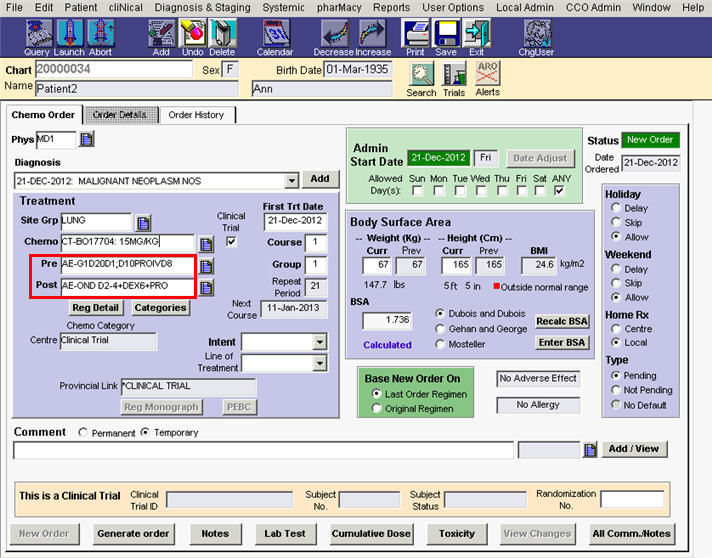
5. Click the LOV button beside the Site Grp field to view a list of site groups to select from.
6. Select the appropriate site group and click OK.
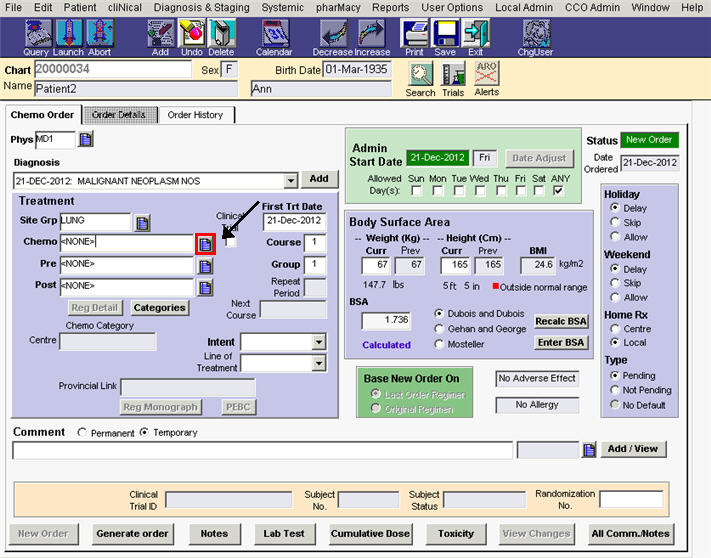
7. Click the LOV button beside the Chemo field to view a list or regimens associated with the site group you selected.
8. Select the appropriate regimen and click OK.
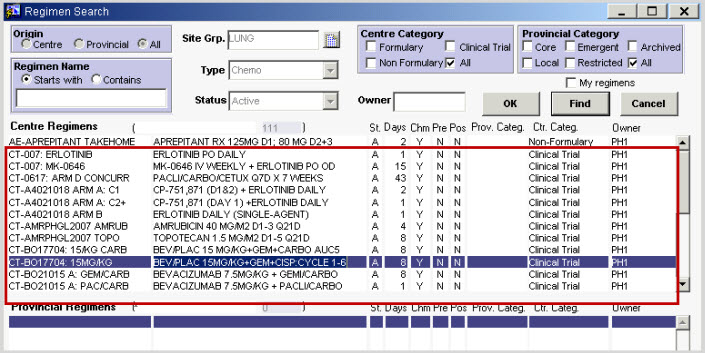
9. The Pre and Post Antiemetic regimens associated with the regimen will automatically populate in their respective fields.
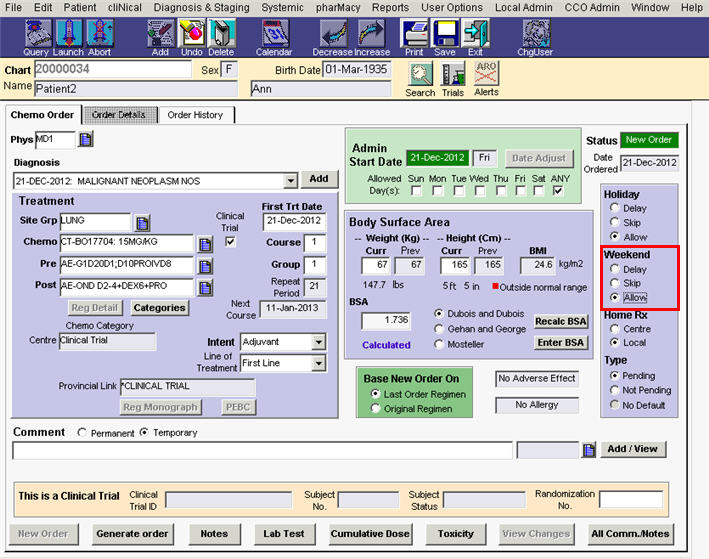
10.Click the down arrow next to the Intent field and select the appropriate intent.
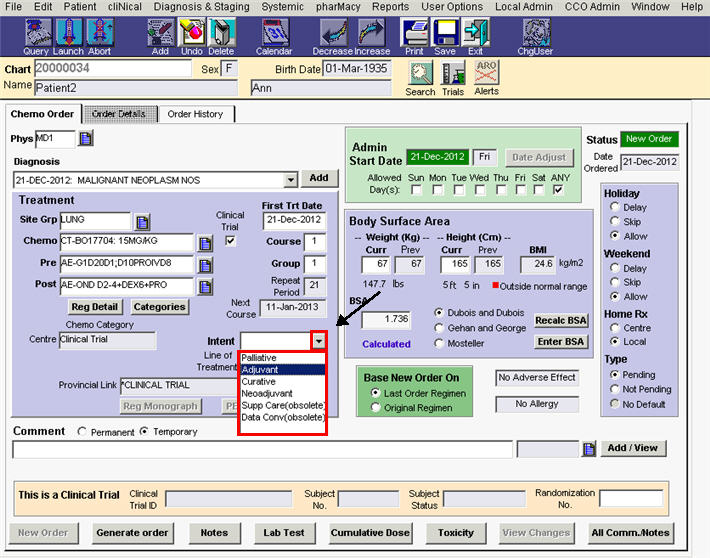
11.Click the down arrow next to the Line of Treatment field and select the appropriate line of treatment.

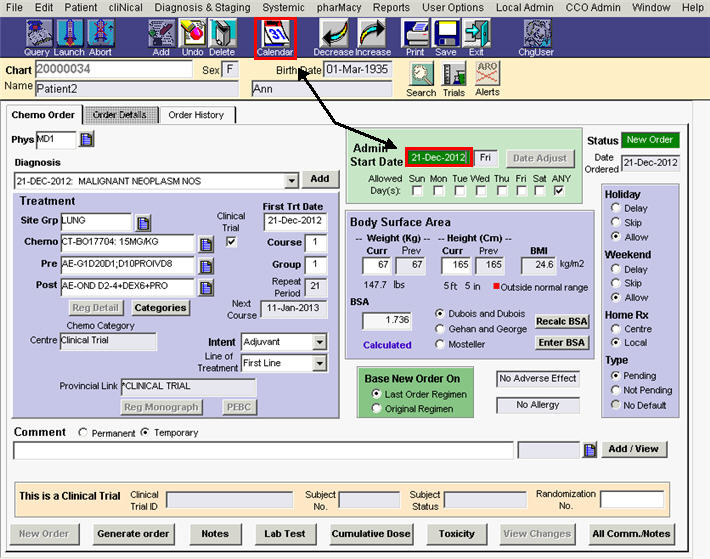
12.Click in the Admin Start Date field and click the Calendar button on the main OPIS toolbar.
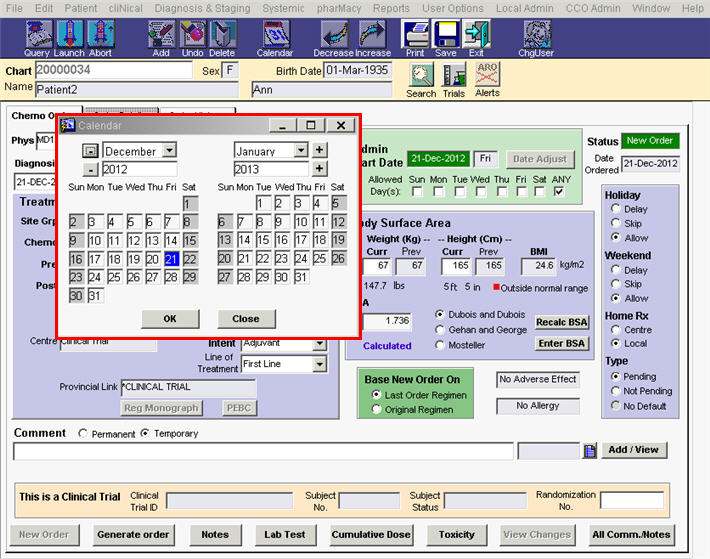
13.Select the date you want the next cycle to begin in the clinic and click OK.
14.If not selected, Select the Allow option under Weekend located at the far right of your screen.
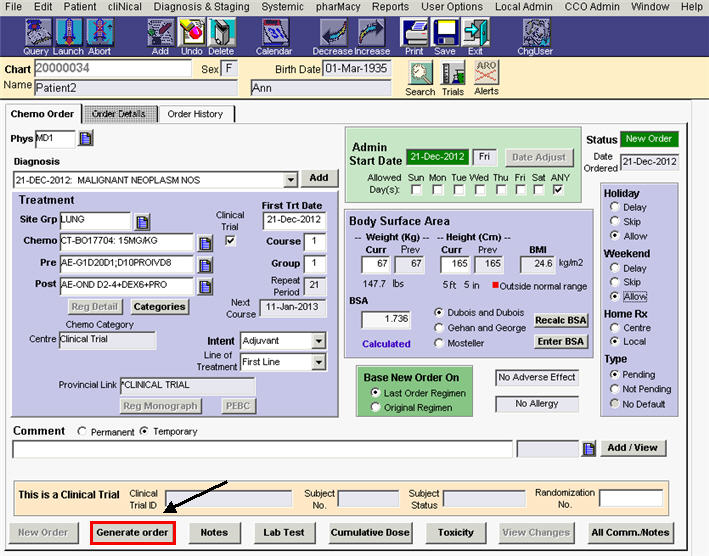
15.Modify any additional items that need to be updated and click the Generate Order button located at the bottom left of your screen.
16.Clinical notes that have been created to remind the physician of information related to the patient will appear at this time, including allergy information.
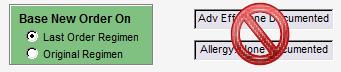
Note: The allergy flags shown on the Chemo Order tab are not used at UHN and do not indicate whether or not allergies have been documented. Allergies are documented in the EPR and come over to OPIS as a Clinical Note only!
17.Click the down arrow to review the clinical notes (if applicable) and click Close when you are done.
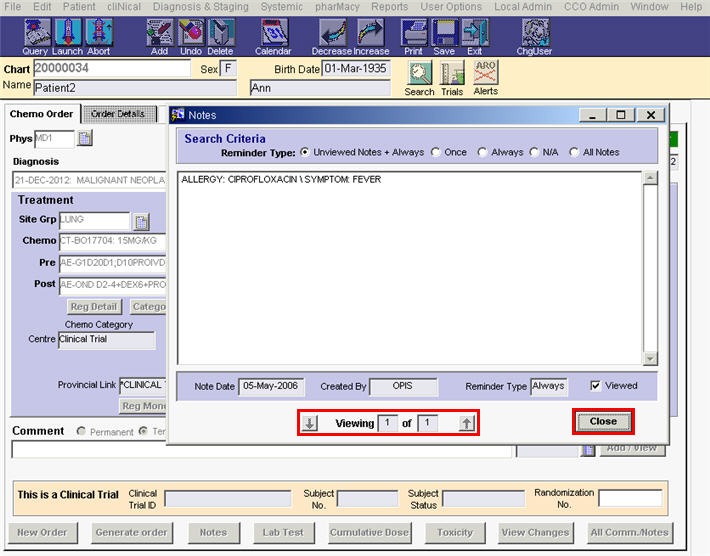
Note: You cannot proceed with order entry until all clinical notes up have been reviewed.
18.The Order Details tab will open and you can make any necessary changes to the regimen drugs (if applicable). Once you are finished click the Sign Order button located to the right of your screen.
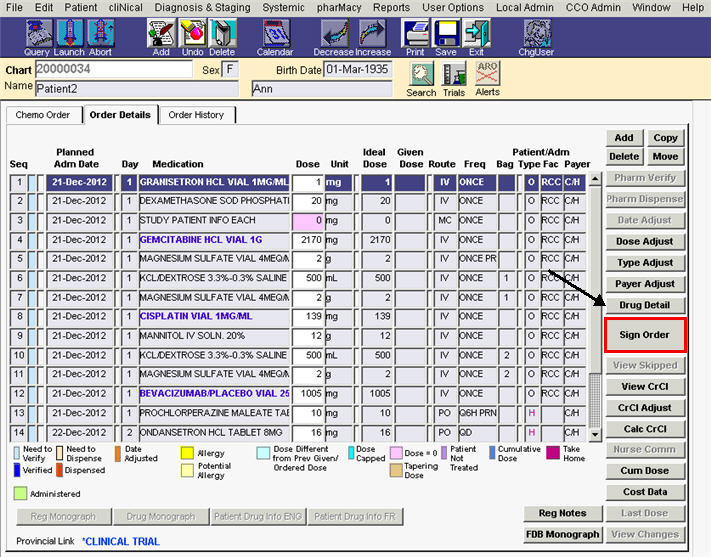
Note: Take-Home prescriptions will print at the time the order is signed. For NON-PRN medications, OPIS will print the Dose and Duration on the prescriptions, but not the Quantity. When adjusting quantities for non-prn medications, change the Duration and ensure that the pharm sig field correlates to what is being ordered before signing the order and printing the script.
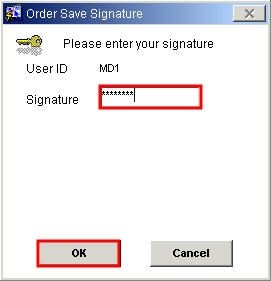
19.Enter your password and click OK.
20.After signing the order, complete any CCO eClaims forms if they appear (see also Placing an Order with a Single NDFP Drug and Placing an order with Multiple NDFP Drugs.).
21.A Print window will display next for any non-physicians placing or modifying the order on behalf of a physician. At Princess Margaret, the default option for this window is set to All Days to ensure that all days of the order will be printed. If you click Cancel, no Take-Home scripts will be printed. For non-physicians the Report Submission window will appear next for selecting specific reports to be printed.
22.Click OK.

Note: Physicians do not see the Print window unless the Queman has been turned on. The default option All Days is selected in the background to ensure all days of the Take-Home scripts print once the ordered is signed by the physician.
See also: