Printing a Take-Home Script
Take-Home scripts will print at the time the order is signed in order entry. The steps below walk you through the process for printing additional Take-Home Scripts.
Note: If you are a Physician, you will need to first turn on the Queman before printing/reprinting paper orders. See topic, Turning on the Queman.
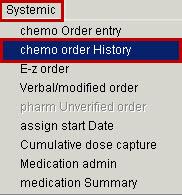
From the main OPIS menu, select Systemic and Chemo order History.
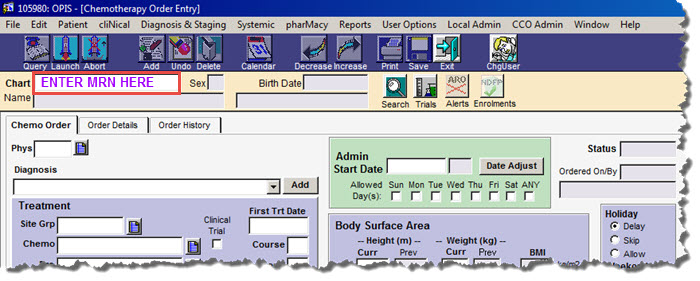
If you have not been working with a patient in OPIS, the Chemo Order window will open up blank. Type the patient’s medical record number (MRN) in the Chart field and press the Enter key on your keyboard.
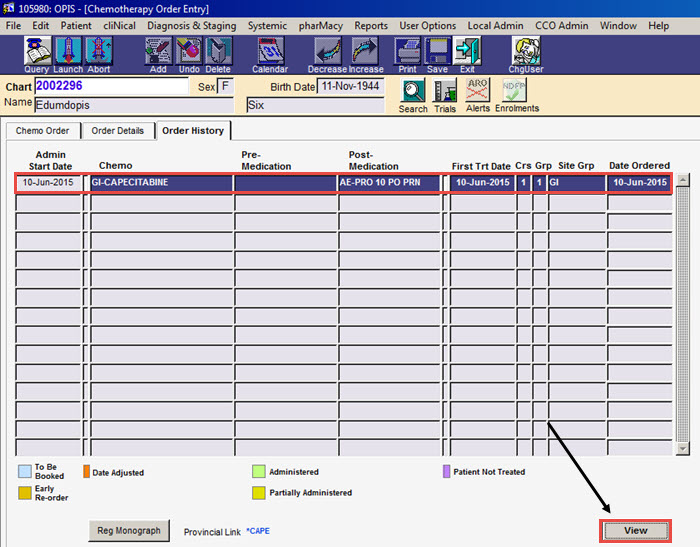
The Order History tab will display the patient’s diagnosis history. Select the applicable regimen you want to print the Take-Home Script for and click View.
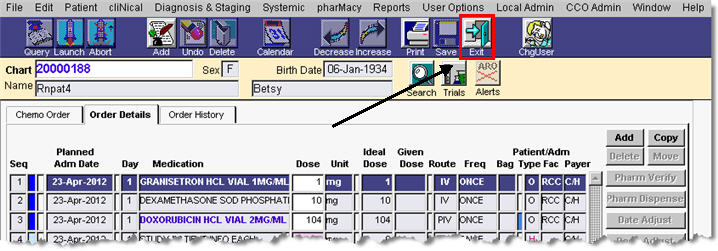
Now you are on the Order Details tab. Click Print on the OPIS toolbar.
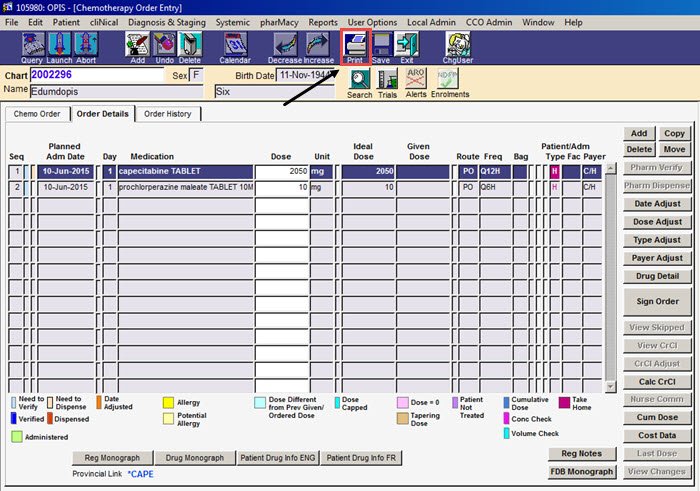
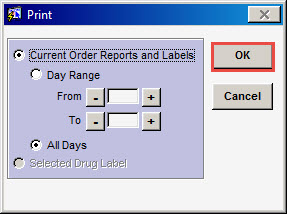
A Print window will display next. At Princess Margaret, the default option for this window is set to All Days to ensure that all days of the order will be printed. If you click Cancel, no reports will be printed and the Report Submission window will not appear. Click OK.
Note: The print window will not pop-up if the entire order is in the past and is updated by the clinician.
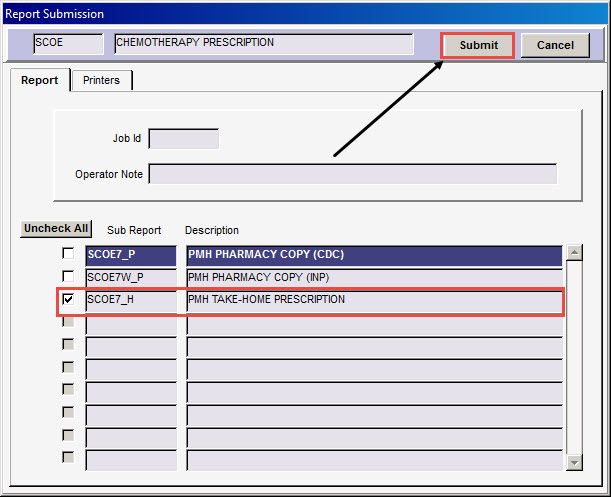
Make sure the Take-Home Prescription option is selected and click Submit.
Note: One copy of the Take-Home Prescription is set to print by default. Use the Printers tab to adjust the number of copies to print of the Take-Home Prescription.
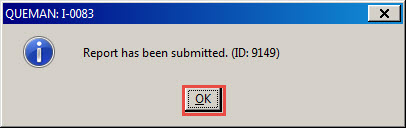
Click OK.
When done printing, click the Exit button on the toolbar.
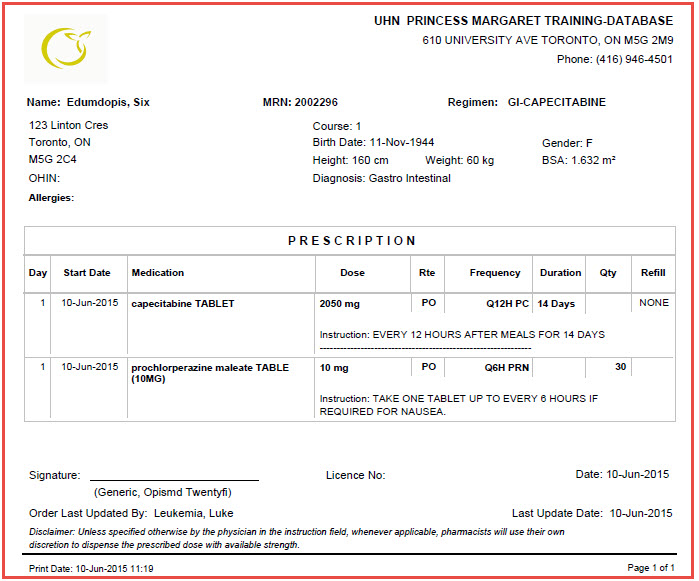
Take-Home Script example: