Registering an Initial Diagnosis
The Diagnosis field is a mandatory field in OPIS for placing orders and generating NDFP forms.
Follow these steps to enter a diagnosis:
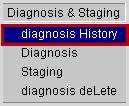
1. From the main OPIS menu bar select Diagnosis & Staging and diagnosis History.
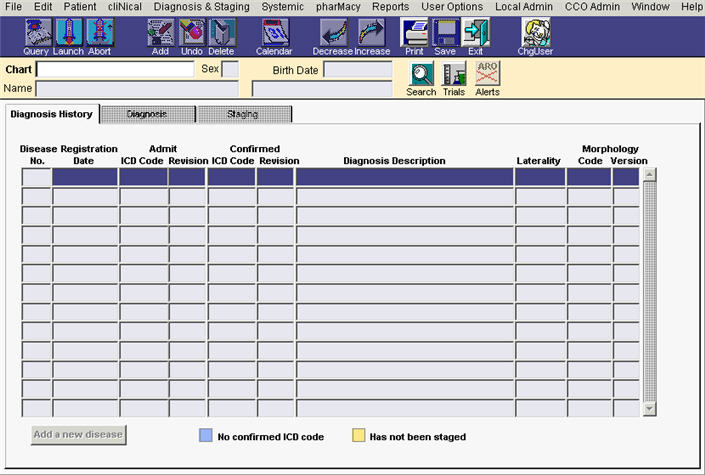
Note: The Diagnosis History tab will open. It may be blank if you have not searched for a patient in OPIS since you logged in.
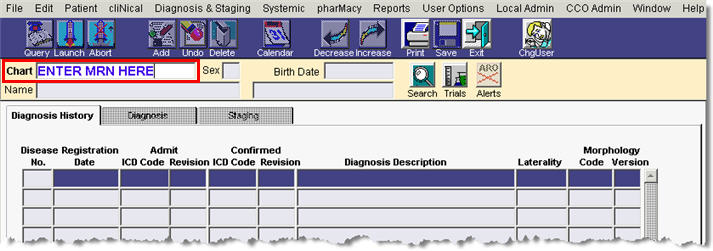
2. Type the patient’s medical record number (MRN) in the Chart field and press the Enter key on your keyboard.
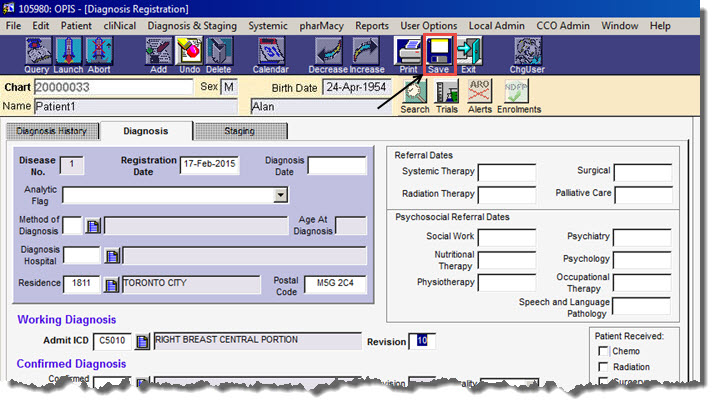
3. The Diagnosis History tab will display the patient’s blank diagnosis history. Click the Add a New Disease button to access the diagnosis registration tab and begin registering a disease.

4. Click the LOV(list of values) button beside the Admit ICD Code field to search for a diagnosis.
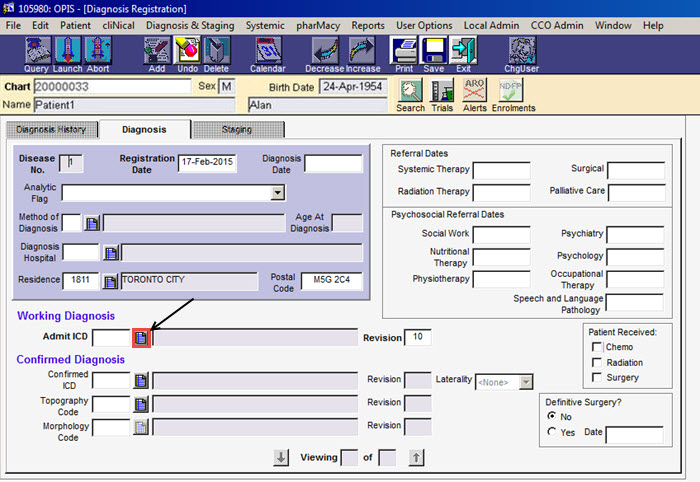
Note: The required fields are labeled with bold text. The Disease No. will automatically fill in with the next available sequenced number and the Registration Date will default to today’s date. The only field that needs to be filled in is the Admit ICD Code.
The ICD Site Search window will appear.
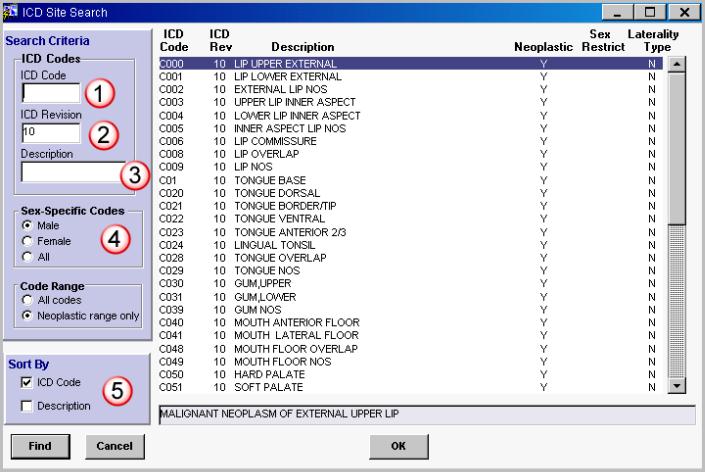
5. Enter your search criteria and then click Find to display your search results.
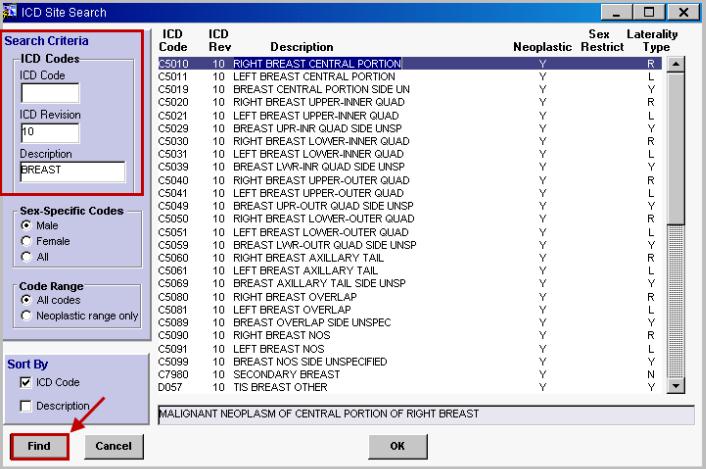
Note: In the above example, we searched for Description 'Breast’ and ICD Revision '10’.
6. Select the diagnosis and click OK.

7. Click the Save button located on the main toolbar to save your changes.