For the latest updates, see EPR Release Notices.
For EPR related videos, check out Digital Education's YouTube Channel.
For the latest updates, see EPR Release Notices.
For EPR related videos, check out Digital Education's YouTube Channel.
Chart Review Overview
Covered in this topic:
Commonly Used Chart Review Options
Print Lab Results from Chart Review
Chart Review can be used to examine a patient’s orders, results, reports and other health documentation for their current and past admissions. The Chart Review is a read-only function used to view the information on the patient.
To access the Chart Review for a visit, you can search in various ways:
1. You can use the Chart Review by Patient icon on the top toolbar and search for the patient.

2. If you cannot find you patient through the Chart Review By Patient link, click on drop down arrow next to the Old Visits icon on the top toolbar. Select TW Old Visits or TR Old Visits (if your patient has had a visit at these sites).

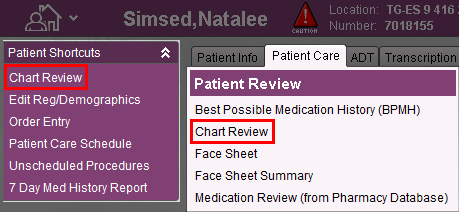
3. If you need to access information on the Patient Desktop itself, search from Patient Selection tab first and open the visit. Chart Review is accessible from the Patient Shortcuts menu.
Note: To access an archived visit that is greyed out, search for it using the Old Visits icon on top toolbar.
Depending on your role and type of access, the location of the Chart Review option on the Patient Desktop will vary. You may find the Chart Review option under the Patient Shortcuts menu on the left side, or under the Patient Care tab.
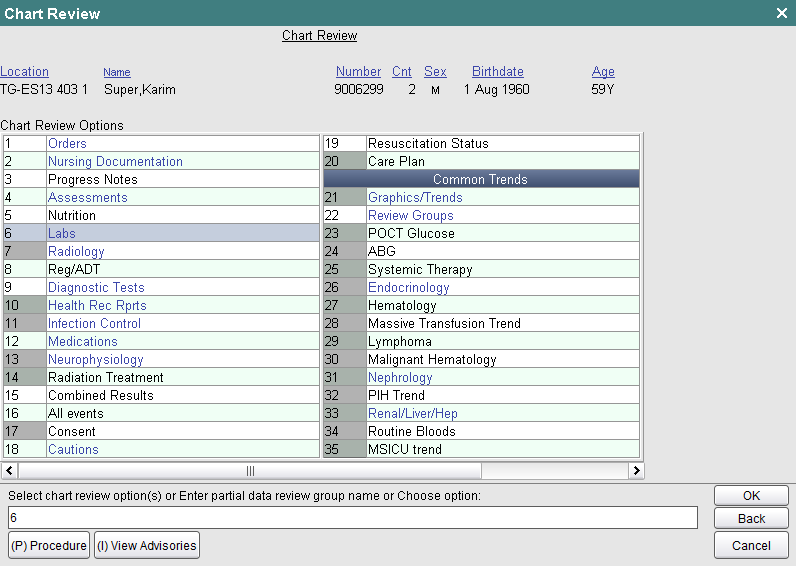
The Chart Review Options screen includes a list of items available for review. The different formatting seen on this list indicates the following:
1 Blue text
|
an additional sub-menu is available |
2 Grayed out numbers
|
no information relevant to this item for this patient |
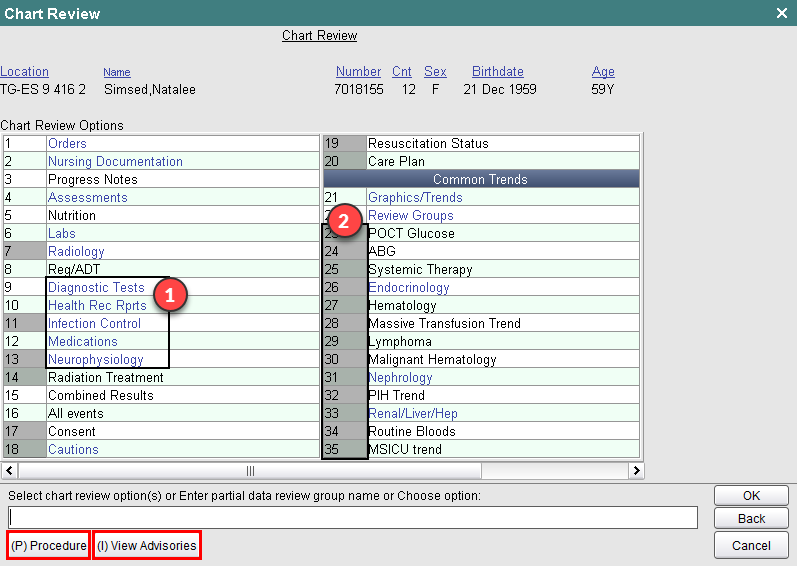
Once you select from the list, a follow-up screen or sub menu will appear.
A number of options may be available to you at the bottom of each screen to help navigate through the Chart and review your patient’s reports and documentation (refer to above screenshot):
Button
|
Functionality |
Additional Results |
If this button appears, it indicates there is additional results to be viewed and beyond the current screen.
|
View Advisories |
Displays details of any, and all, advisory related to patient and how it was addressed.
|
Audit Trail |
Displays details and sequence of events for an Order.
|
Graph |
Converts a patient’s results into a graphical format.
|
Instructions |
Provides you medication administration instructions.
|
Order Review |
Displays details of the Order to when it was placed, changed, discontinued, etc.
|
Listen to Dictation |
Links to dictation audio (where available), found in Radiology options. (see image directly below this chart)
|
Previous/Next Event |
Allows navigation to the previous or next event of the same type of procedure.
|
Previous/Next Screen |
If this button appears, it indicates that there is additional information to be reviewed.
|
Procedure |
Allows performing a text-based search for the specific procedure you are looking to review. You can either enter one or two keywords, or enter partial word with the EPR wildcard symbol.
|
Ranges |
Provides a list of normal ranges on the particular item, and based on the patient's age and gender (such as when reviewing lab results).
|
Report Query |
Generates a more detailed summary report including orders and collection information, test results, normal and critical ranges. This report also flags any critical and abnormal results by colour and text.
|
Trend |
Generates a patient’s particular result type into a trend report. E.g. all CBC results or all Blood Pressure results.
|
View Images |
Generates on-screen visual of Radiology images, found in Radiology options. (see image directly below this chart)
|
Provides the ability to print chart information such as lab results, assessments, etc.
To print, select Chart Review options until you locate the required information, then choose the Print button at the bottom.
|
When clicking on Report Query under Complete Film History, you will get the customized report screen below with the option to either View Images or Listen to Dictation.

Commonly Used Chart Review Options
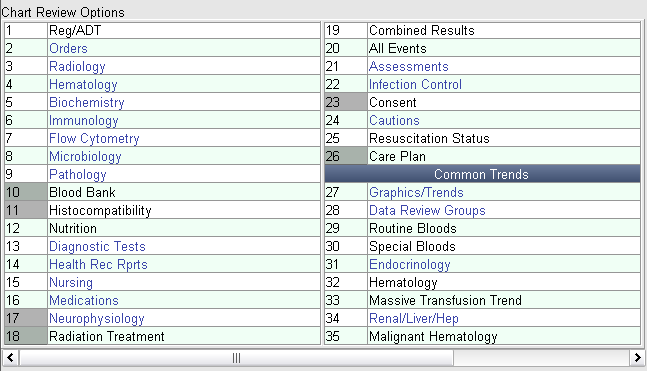
Depending on your role and type access, the order in which the options are organised, may be different, or appear in a different menu location.
Chart Review Option
|
Description |
Orders |
Active orders provides you two different lists: Order Block displays chronological blocks of visits and its inclusive list of respective orders.
Primary Orders displays a list of only the active orders for the particular patient’s visit you are viewing the Chart Review from. (To see the discontinued and expired orders here, you would click on the Expand button).
|
Nursing Documentation
|
Displays nutrition, assessments, and other documented nursing interventions. |
Progress Notes |
Provides a list of Progress Notes usually made by health care professionals describing the patient's condition and the treatment given or planned.
|
Assessments |
Provides all assessment information for patient. E.g. Allergy/Adverse Reaction, Height and Weight assessment, Chemo Hypersensitivity.
|
Nutrition |
Displays all the diet events for patient.
|
Labs |
Provides you information to all lab works done for patient at UHN. E.g. Hematology, Microbiology, Immunology.
|
Radiology |
Displays all Radiology/Medical Imaging events, which can be searched by Body Site or Technique.
|
Reg/ADT |
Displays the list of Registration, Admission, Discharge and Transfer items for patient.
|
Diagnostic Tests |
Provides you with all records for Diagnostic Tests. E.g. Surgery, Bone Density, Cardiology.
|
Health Rec Rprts |
Displays a list of all transcribed health record reports documented in EPR. E.g. Clinic Notes, Discharge Summary, OR Procedure Notes.
|
Resuscitation Status |
Provides code status information for the patient. For more information, see Reviewing Resuscitation Status.
|
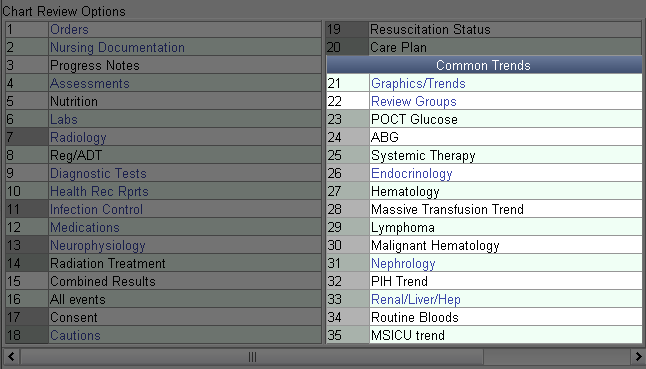
Options under the Common Trends banner let you view several results at once.
Print Lab Results from Chart Review
When a patient is being transferred to another facility (such as an external Acute Care facility), it may be necessary to print out the lab results to send with the patient.
1. Click on Chart Review under the Patient Shortcuts menu on the Patient's Desktop.
2. Select Labs and click OK.
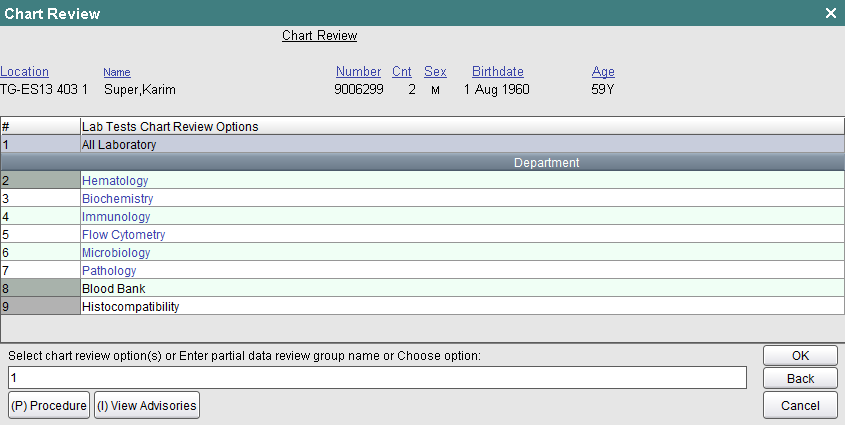
3. Select All Laboratory, and click OK.
4. Choose Print from the right hand side of the Transaction Line.

5. Select the event(s) you wish to print by clicking on each one, and then click OK.
6. Select OK again to confirm the printer queue and click Accept.