
For the latest updates, see EPR Release Notices.
For EPR related videos, check out Digital Education's YouTube Channel.
For the latest updates, see EPR Release Notices.
For EPR related videos, check out Digital Education's YouTube Channel.
Emergency Department Notes
Covered in this topic:
Three note types have been added to EPR (June 2020) for Emergency Physicians, Nurse Practitioners, Physician Assistants and Residents to document the care and treatment of Emergency Patients. These notes are only available on the Emergency Provider desktops and will not be visible to other Providers.
Similar to the Clinic Note, the ED Encounter note is used to document the assessment and care of the patient during their visit to the ED.
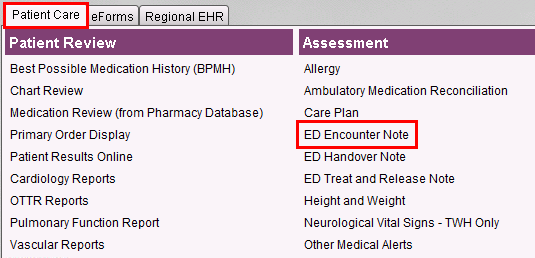
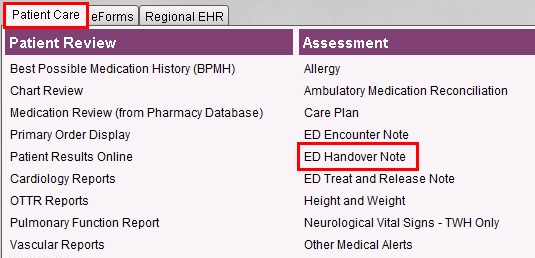
1. From the Patient Desktop, Patient Care tab, select ED Encounter Note.
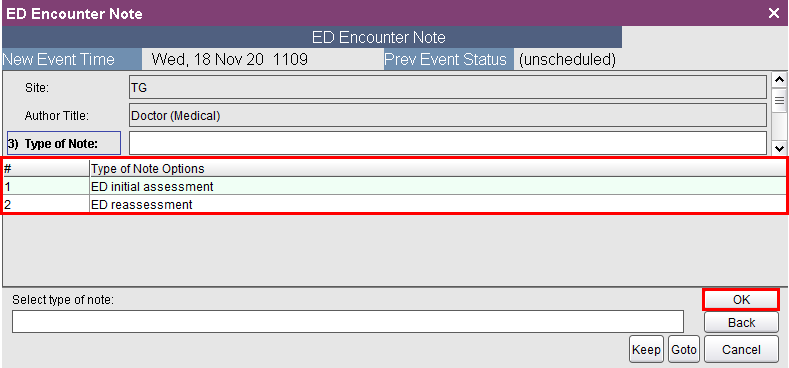
2. Enter the procedure date and time or click OK for now.

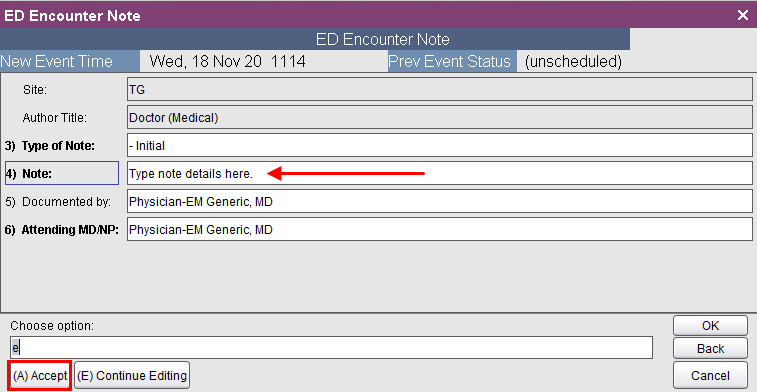
3. Select the type of note from the options list and click OK.
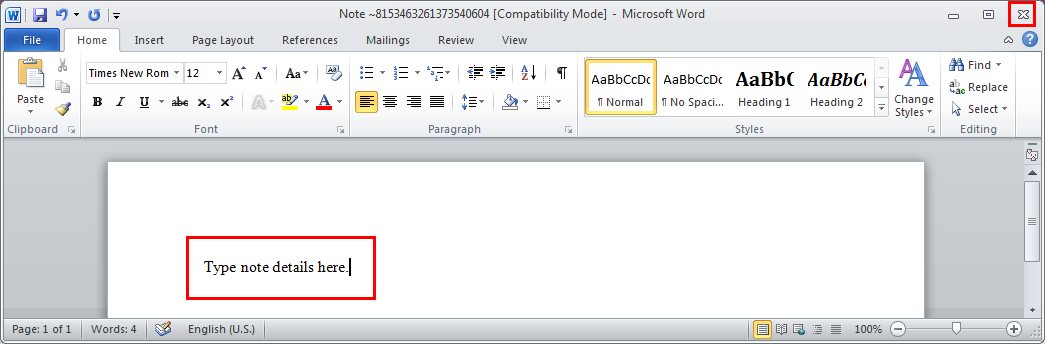
4. Microsoft Word opens where you can type note details. Click the X button to close the note when done.
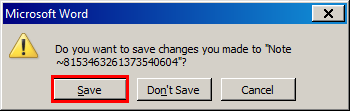
5. Click the Save button to have the notes entered into the EPR form.
6. The notes should now be added to the form. Click Accept to save your work.
The purpose of the ED Handover Note is for the most responsible physician or nurse practitioner to communicate with the MRP on the next shift a summary of the patient’s issues and items to follow up.
1. From the Patient Desktop, Patient Care tab, select ED Handover Note.
2. Enter the procedure date and time or click OK for now.
3. All fields in this form are mandatory and require details.
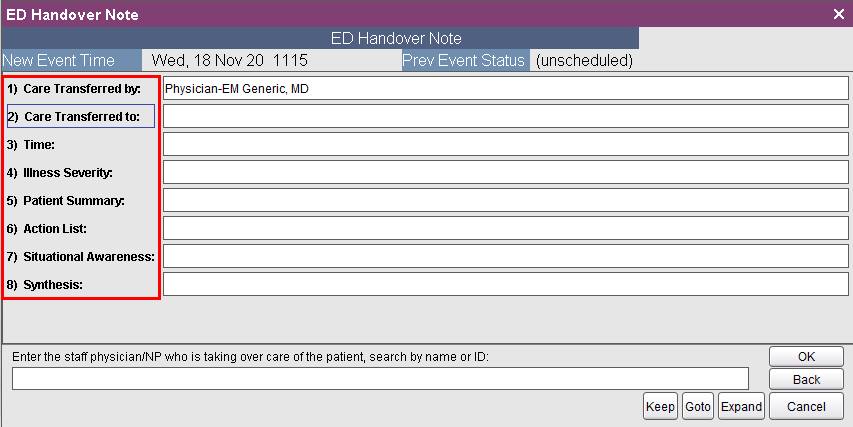
Field 2) Care Transferred to: enter and search for the name of the receiving handover Provider
Field 3) Time: enter the handover time, or type N for now
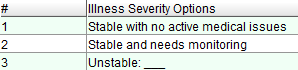
Field 4) Illness Severity: select an option from the list. Option 3 allows for additional free-text typing
Field 5) Patient Summary: enter the patient's main issues and pertinent clinical details
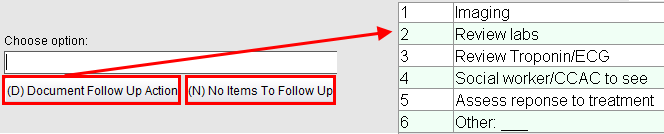
Field 6) Action List: choose to either Document Follow Up Action or indicate No Items to Follow Up. If you choose to Document, you will need to select from the list of actions. You can document more than one follow up action.
Field 7) Situational Awareness: enter anticipated outcomes and disposition including contingency plans (example: if this, then that)
Field 8) Synthesis: select an option from the list

4. Once all fields have been entered, click Accept to save your work.
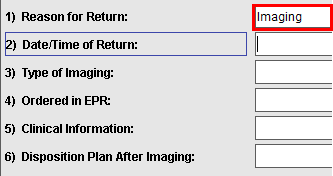
The ED Treat and Release Note will replace the current paper form that is given to patients and has details and instructions for their return visit. Depending on the selected Reason for Return, additional questions will appear.
When the ED Treat and Release Note is completed in EPR, a paper copy will print to the default EPR printer that is defined for the workstation. This report contains all the information that was documented as well as patient demographics and some instructions. The paper copy of the report may be given to the patient.
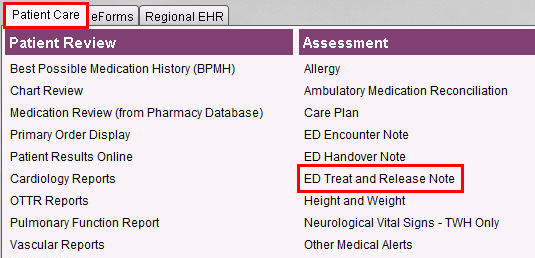
1. From the Patient Desktop, Patient Care tab, select ED Treat and Release Note.
2. Enter the procedure date and time or click OK for now.
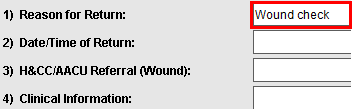
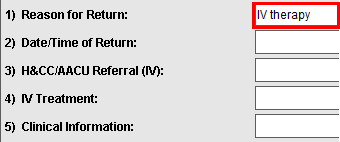
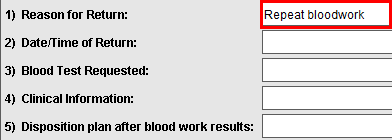
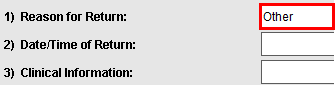
3. Select a Reason for Return option from the list. The chosen option may trigger additional mandatory fields that require completion.
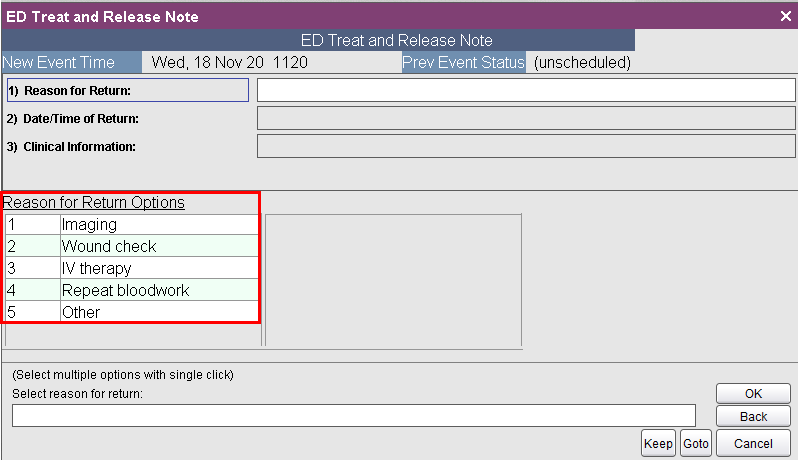
Option 1) Imaging
Option 2) Wound Check
Option 3) IV therapy
Option 4) Repeat bloodwork
Option 5) Other
4. Once all fields have been entered, click Accept to save your work.
The ED Virtual note is used to document the assessment and care of the patient during their virtual visit.
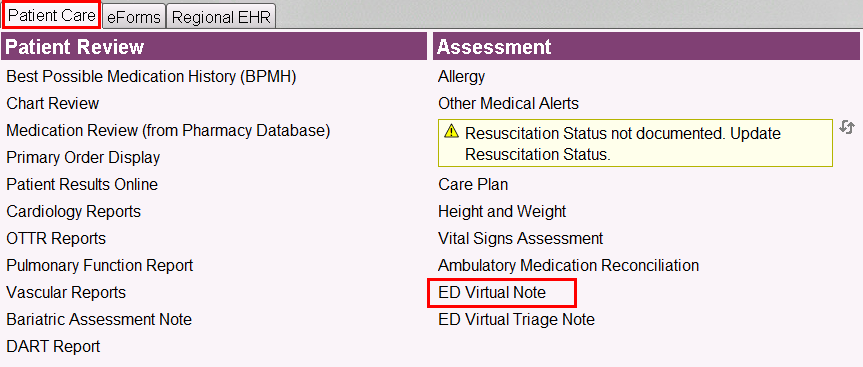
1. From the Patient Desktop, Patient Care tab, select ED Virtual Note.
3. Microsoft Word opens where you can type note details.
4. Click the X button to close the note when done.
5. Click the Save button to have the notes entered into the EPR form.
6. Enter the Discharge Diagnosis.
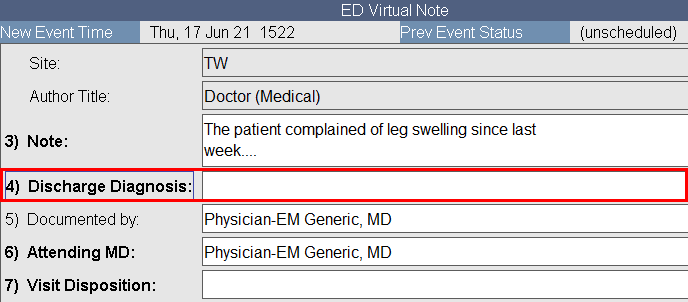
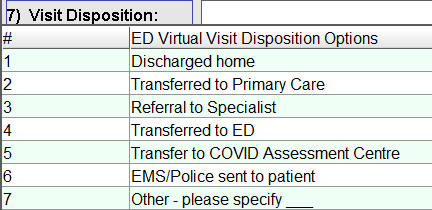
7. Select the Visit Disposition from the list.
8. Once all the fields have been entered, click Accept to save your work.
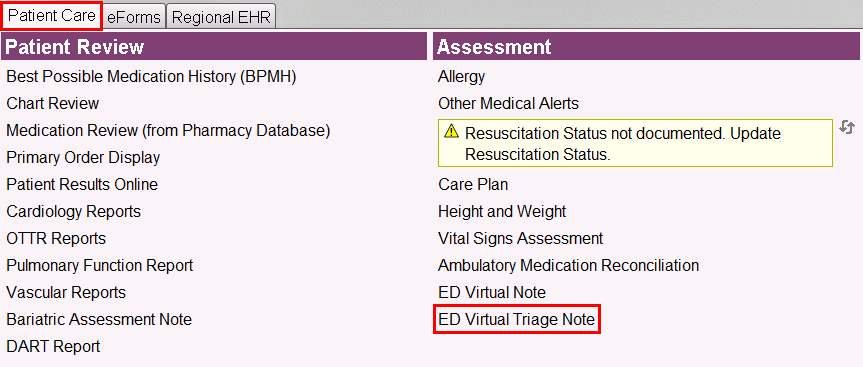
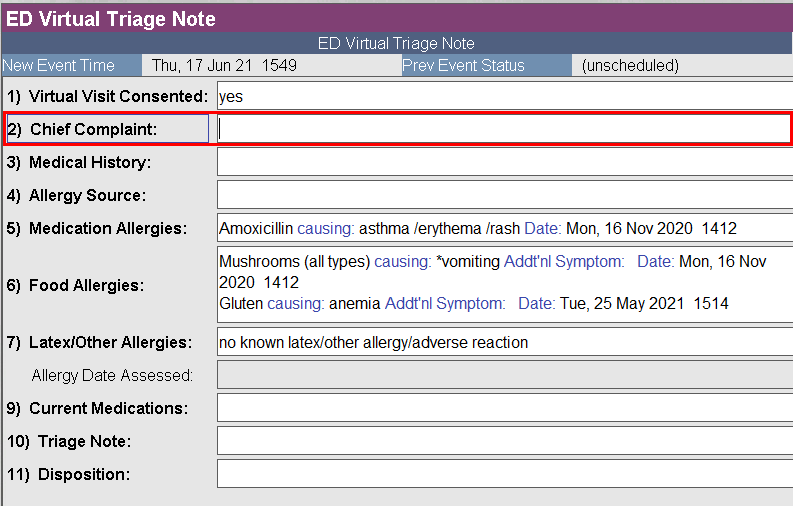
The ED Virtual Triage Note is used to document the assessment and care of the patient during their virtual visit.
1. From the Patient Desktop, Patient Care tab, select ED Virtual Triage Note.
2. Enter the procedure date and time or click OK for now.
3. Enter Chief Complaint.
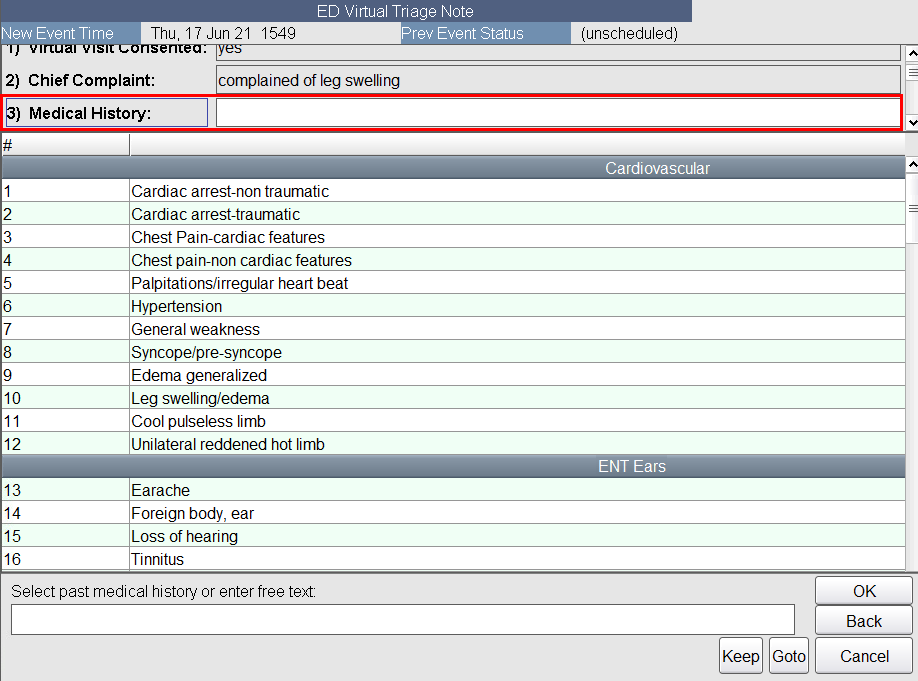
4. Select Medical History from the list provided.
Note: use the side scroll bar if not all information is visible on the screen.
5. Choose the Allergy Source.
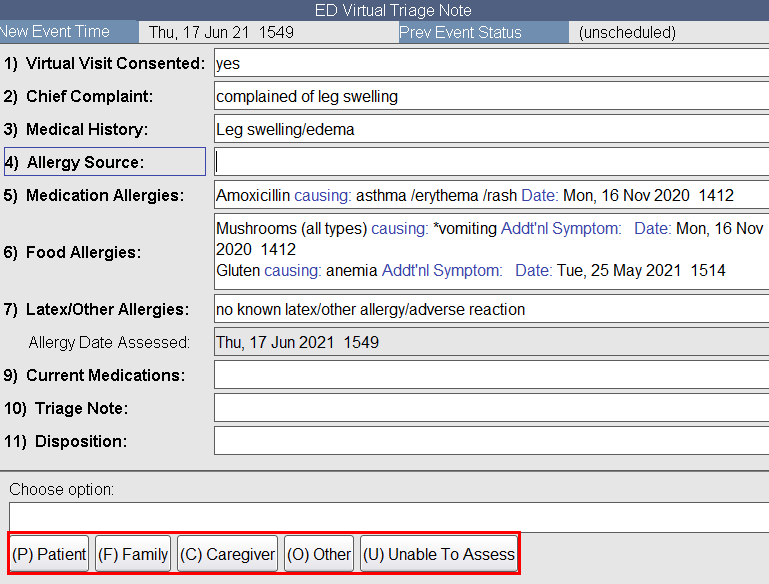
6. Select Current Medication(s).

7. Select Triage Note.
