
Custom forms are electronic versions of standard forms (such as a government form), with active fields that automatically integrate with PSS data.
· All the patient fields are automatically populated with patient data.
· Prior to printing any documents or completing any documents by hand on paper, you should review the custom forms section in PSS.
Inserting a Form
Collapsing (Hiding)
a Custom Form
1. Click on the Custom Form icon on the toolbar to open the Custom Form menu.
Go to Records Menu Options for more info on all the Tool bar icons.

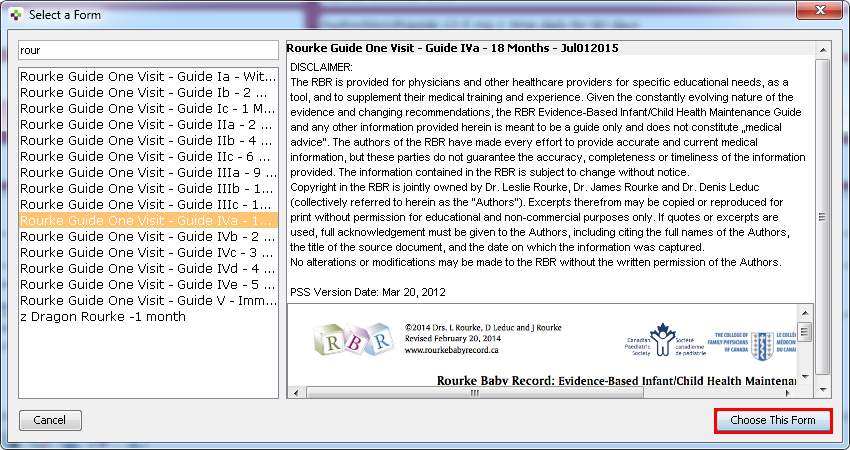
2. Select your form from the list or you can type a few characters of the form name to filter the list
· Although custom forms appear alphabetically in the list –you can search/filter for any form by using any keywords, location, test etc.
· If the title of the form contains your search term, it will appear on a shortened list for you. For example:
o Type in ultrasound –you will get any form with ultrasound in the title
o Type in True North –you will only get the forms for True North Imaging
o Type in SMH –you will get any St. Michael’s Hospital forms
· Select the Choose This Form button
3. In
the example below, the Rourke 18 month custom form has been selected.
Note: The information from the CPP (Past Problems and Family History)
and the
patient’s date of birth will populate the custom form.
Complete or change any of the fields, as necessary.

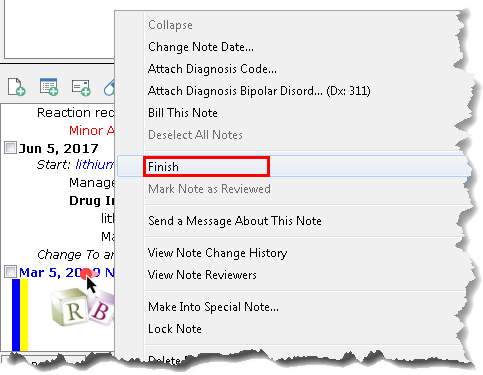
4. Finish the progress note by right clicking on the progress note date and selecting Finish. Note: The yellow bar will disappear, once the note is finished.
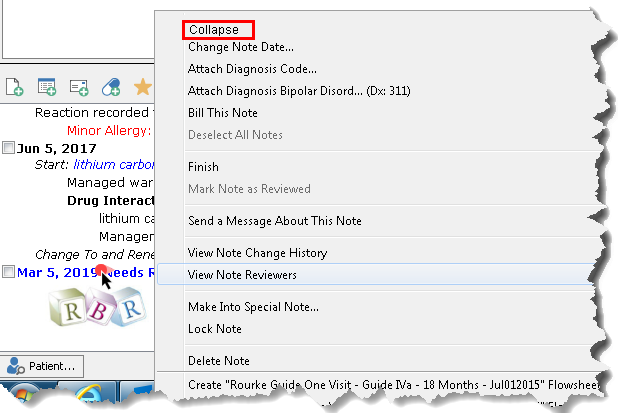
· Most custom forms will collapse in the chart – but there are few which do not.
· You cannot collapse a form if the note is unfinished or marked for review.
· Residents can’t collapse custom forms because they are marked for review (have the blue bar).
1. Double-click on note date. From the Right Click Menu, select Collapse.

Learning powered by Digital Education